The installation of a touchless kitchen faucet slightly varies from one model to another. But in common, there is a set of procedures that helps even newbies. You get a detailed installation guide with the purchase of any faucet. If you are buying for the first time and worried about installation follow my guide. And trust me, it isn’t as difficult as it looks.
7 Steps to install a touchless faucet
Time needed: 45 minutes.
- Shut off the water supply
Obviously you have to turn off the water supply before the installation of a faucet. So close the hot and cold water outlets.
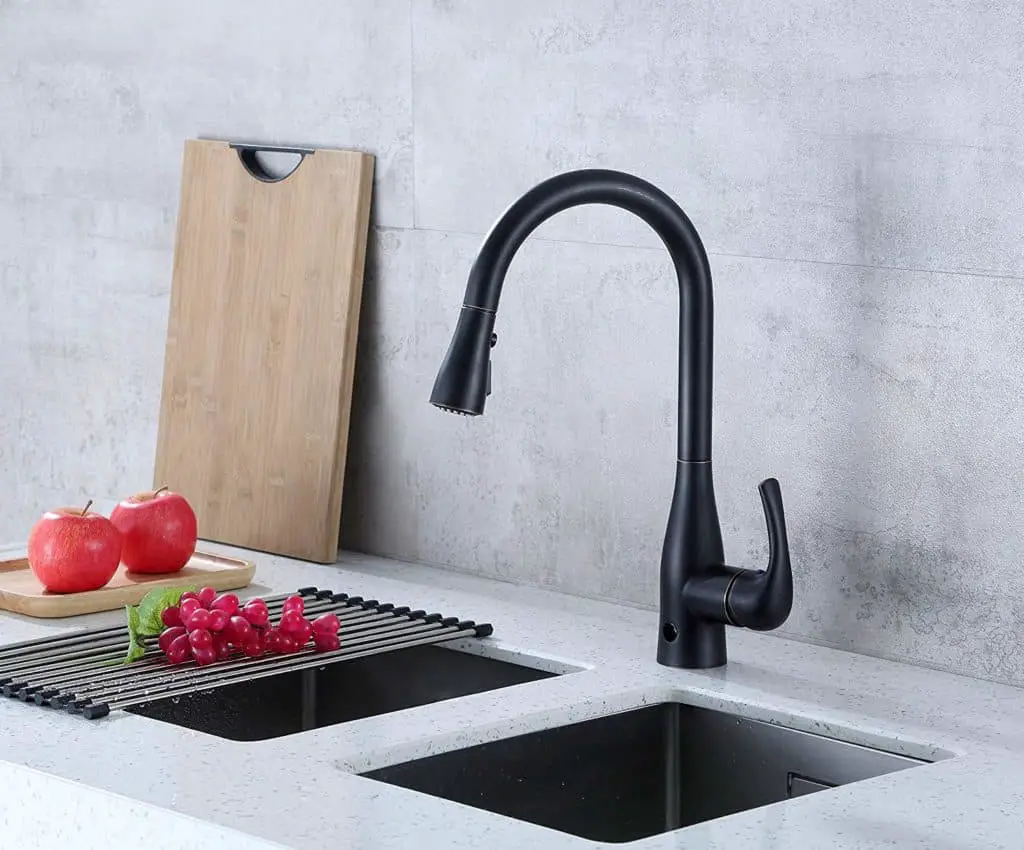
- Mount the faucet
Insert everything including the shank, hoses and cable down through the hole on the countertop or sink. Once done make sure that the position of the faucet is correct. Then tighten the faucet from below with the help of the washer and nut provided. For some models, this may need to be tightened with screws, for some it is just a mounting nut.
PS: If the sink has multiple holes use the deck plate to cover the extra ones (most models come with a deck plate) - Connect cables
Once the faucet is in position its time to make the connections.
First, connect the outlet hose to the faucet. Then connect the hot water and cold water inlets. All these are usually marked for easy installation an have a click mechanism so you won’t have to screw or tight anything. - Install the control box
Once the hoses are connected install the control box by screwing it to the wall under the sink. An ideal position is 6-9 inches below the faucet line. For some models, these control boxes will just hang on the main hose connection.
Then connect the power cable to the control box. This can be an AC adapter or a cable from a battery box depending on the model you purchased. - Attach the counterweight to the hose
Most touchless faucets are pulldown types and are retracted back with the help of a counterweight attached to the main hose. Install it at a suitable height from the ground level. They come with different attachment types, for some models they need to be tightened with screws whereas some are fixed with a clamp.
- Clear any debris from the pipes
Once the above steps are complete, turn on the faucet to clear the water lines. In the case of some models, this has to be done before connecting the hoses to the control panel. In that case, the outlet hose is let to run free under the sink to a bucket or basin.
If you are doing this by turning on the faucet make sure to unscrew the spray head as this debris can block its tiny holes. - Complete testing
Your installation is now complete. Now test the working of the faucet and check for any leaks. For some models, the range of motion sensors can be changed so set it at the right distance. Try turning on and off the faucet using the sensors, try changing the flow rate and adjusting the water temperature. If everything works right (they must) congrats!
Here is an installation video of the Pfister Stellen faucet for your reference.
Also here is a list of the best touchless kitchen faucets.
Related Topics:
If you like the article above, here are some other similar articles you should check out!
Garbage Disposal Wrench (What is it, Types, How to Use)
How to Reset a Garbage Disposal ( A Simple Step by Step Guide)